I thought I’d throw in some equipment articles on appliances & tools that I use on a regular basis, and how I feel about them.
So a couple months ago, I’m at work and my wife calls to tell me the oven is broken. Herein starts the journey…..
Ok, step 1….Fix the oven
So I have this 500 year old Amana builders grade single gas oven. I take it apart & the clock/timer assembly is all corroded and shit. I clean it up, burnish the contacts, etc.. and everything works again.
Until the next morning…..when my now unhappy wife calls me back at work to let me know the oven is broke again, and she is in the kitchen with fresh food ready to be prepared. My bad.
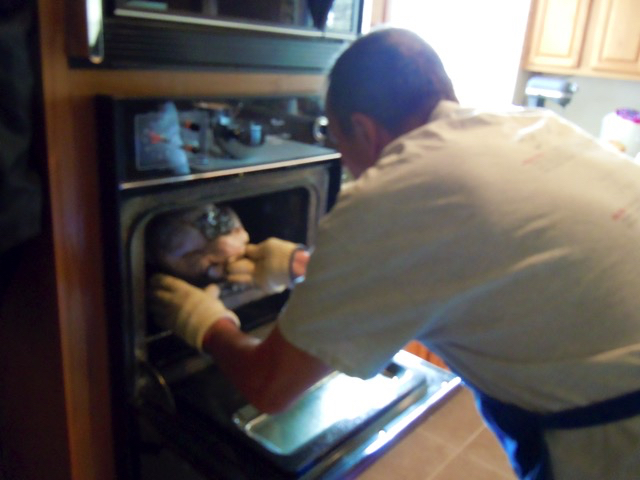
Heres a picture of that piece of shit. Actually, in all fairness I’ve had had the thing 20 years and its only failed me like 12 times (usually during holiday or guest dinner)

On to step 2….Replace the oven. Ok, we’ll just replace the damn oven with something close to the original model so it will fit. I do some kitoogling and find this near perfect fit of a replacement oven. But let me back up a bit…..I have ALWAYS wanted a professional dual oven in the kitchen, but I always seemed to find a better use for the money. So my wife (Bless her Heart) says “Why dont you just put in the oven you want, you’ve wanted it for 20 years”. So, I cancel the replacement oven and go into full nerd mode to find the perfect oven.
I ended up looking at Viking, Miele, Bosch, GE, Wolf, American, Dacor, Bluestar, & Thermador. Finding a dual oven was easy, but unfortunately it presented some installation problems. First, I only found one option for a gas oven. That was the Bluestar, which looked like a fine oven but didnt really have the features I wanted. This eventually led to the decision to plug the gas line & run a new 60a electrical service to the oven cabinet. Ok, there goes another $500, except the electrician takes a look at the distribution panel & announces that I’ll need a new panel to handle the increased load. ChaChing, there goes another $1200. The good news is that now I can put whatever I want with regards to power.

The gas line posed a particular challenge as the existing stubout needed to be removed for clearance. I initially planned to cap it in the attic, but opted to simply remove the stubout and plug it behind the wall.

Great, moving on to pick an oven I encountered my next major life decision. What width to get ?The original oven had a 24” width which was WAY too small. Options are either 24”, 27” or 30”. As I measured out the cabinet, 24” would fit easily, 27” would fit with some minor cabinetry work, and 30” would require I basically rebuild the entire cabinet. I would have preferred the 30”, but went with the 27” width in the interest of time & money. Since I have to modify the cabinet anyway, I decided to add a warming drawer on the bottom as well, to replace the funky wooden drawer.
Picking an actual manufacturer/model was a tradeoff of features, cost, and reliability. I ended up selecting the Viking VEDO5272SS for the dual oven, and a Viking VWD527SS. I ended up purchasing the components from Appliances Connections who provided great support both from a cost and help with some technical details.
Delivery on the items was going to take about 3 weeks, which gave me plenty of time to get the cabinetry work done. Here is what the cabinet looks like before starting the modifications.

After looking at this, I forgot to mention the whole microwave issue. The original cabinet had a microwave in the upper section, but fitting a dual oven + Microwave here just didnt work ergonomically. It could have worked for me, but I’m 6’4 and others in the house would be glaring at me everytime they use it. So, after some discussion, we decided to leave the cabinet for the ovens and a countertop convection/microwave combo from Viking. We had to part with a fairly new LG microwave & a cheap toaster oven in the process, but I was happy with the workflow.
So back to the cabinet…As shown, we basically remove the microwave, microwave shelf, drawer, and cut the width to match the oven cutout dimensions. One little bit of weirdness….the cutout width of the warming drawer was slightly narrower than the cutout width of the oven, so we ended up cutting the width for the oven & then shimming the warming drawer width.
For the height it was a little more complicated. The oven has to be elevated in the cabinet and it weighs around 500 lbs. We ended up building a raised platform in the cabinet from 1” birch and 2×4’s. The 2×4’s sandwich between the warming drawer and cabinet edges. Once the platform was in place we trimmed it out.

As you can see, we have a blue painters tape line that define the platform location. The 120v socket above the platform was blanked off & moved to the lower left for the warming drawer. The primary 220v feeder was located in the lower right, we opted for a direct connection rather than a plug due to clearances. The platform is notched at the right rear to allow the power cable to pass through.

This detail shows the platform and side trim pieces roughed in.
Unfortunately I didn’t get any pictures of the oven actually going in. Thats because I went fucking ballistic on the installers, as they were totally unprepared for the job. I basically had to tell them step by step to keep them from destroying the oven. It literally took them over four hours to slide the oven in & wire it.Note- If you get anything installed, make sure they have actually installed the thing youre installing. I paid $250 for this service, and man did I get serviced !
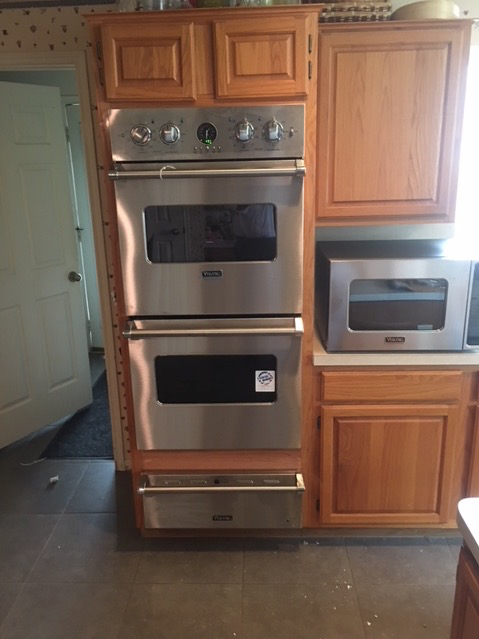
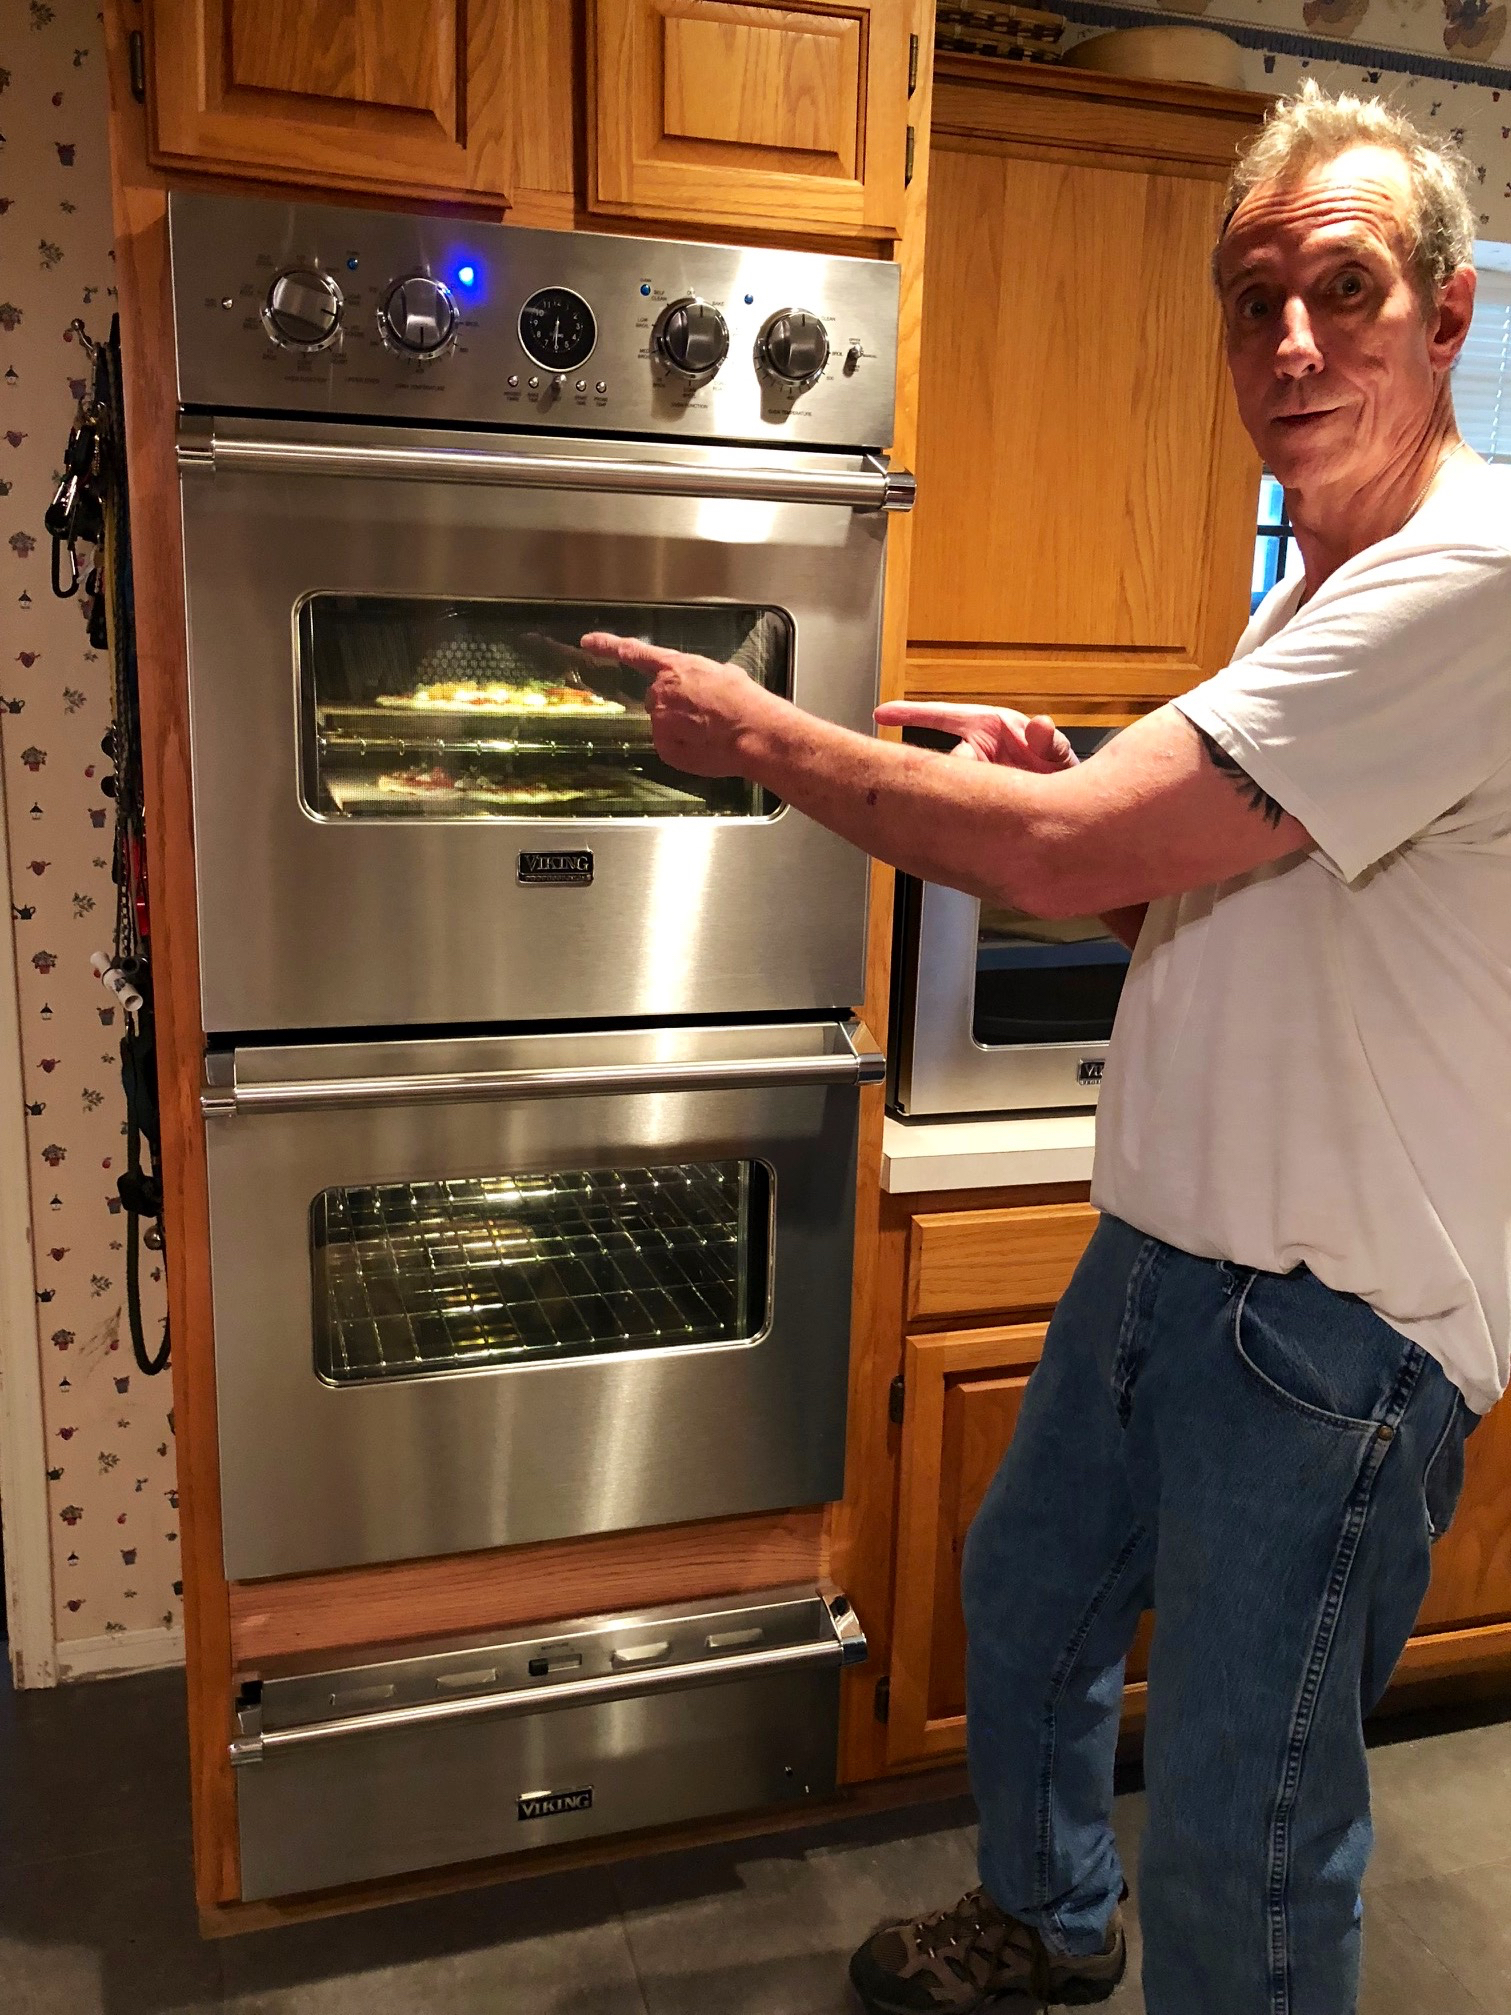
But all ended well except for a few popped temple arteries. Heres the final product:


Conclusion:
I’m happy with the results. The ovens work perfectly, I finally have some oven real estate to work with. Shout out to Viking Appliances & Appliance Connections. No, I don’t get a kickback like some greaser in an alley, I just think they are both fine companies.